
By Gary Bunzer, Technical Editor
May 2019
Extended Warranty Decision
We just purchased a brand-new 2019 Newmar New Aire motorhome. We must decide if we want an extended warranty. In checking out pros and cons on the internet, it appears that some people swear by them and others hate them. Our concern,
of course, is that everything on the coach is electronic. Does it make sense to purchase an extended warranty?
Al Paschal & Ludi Kulihin, F399500
Sun City Center, Florida
As you noted, there are varying views on the topic. A lot boils down to how proactive you are in performing your own preventive maintenance. If you are very proactive and knowledgeable regarding all the technical aspects of your motorhome, you may be able to avoid paying extra for the service contract, which technically is what they are, the cost of which sometimes can be rolled into the financing. But if you are not that adept (or equipped) to perform your own maintenance and repairs, then an extended warranty is likely a good idea in case components become troublesome during your travels. The decision is totally up to the individual RV owner. For some, it’s cheap insurance; for others, it’s an added expense they wish to forego.
If you opt for the service contract, read the literature carefully to determine not so much what is covered but more so, what is not covered. And by whom — Newmar, the insurance carrier, or the individual supplier manufacturer? How easy is it to file a claim? How quickly can the repairs be rendered, etc.?
Odorific Heat Pump
My rooftop air conditioner/heat pumps smell musty. What can I do to get rid of this smell?
Michael Christoph, F401412
Dyer, Indiana
In the vast majority of cases, a damp, musty odor in an HVAC system means there is an accumulation of moisture, mold, and mildew. This is common if the RV is used sparingly or if it has been stored for a lengthy period in a moist climate. Mold and mildew spores can be treated with a mixture of bleach and water, but care must be taken. The situation can become compounded if the spread of the mold has permeated the confines of the ductwork within the RV. Even though the mold probably started in the return air filters, it actually can begin anywhere within the cooling system.

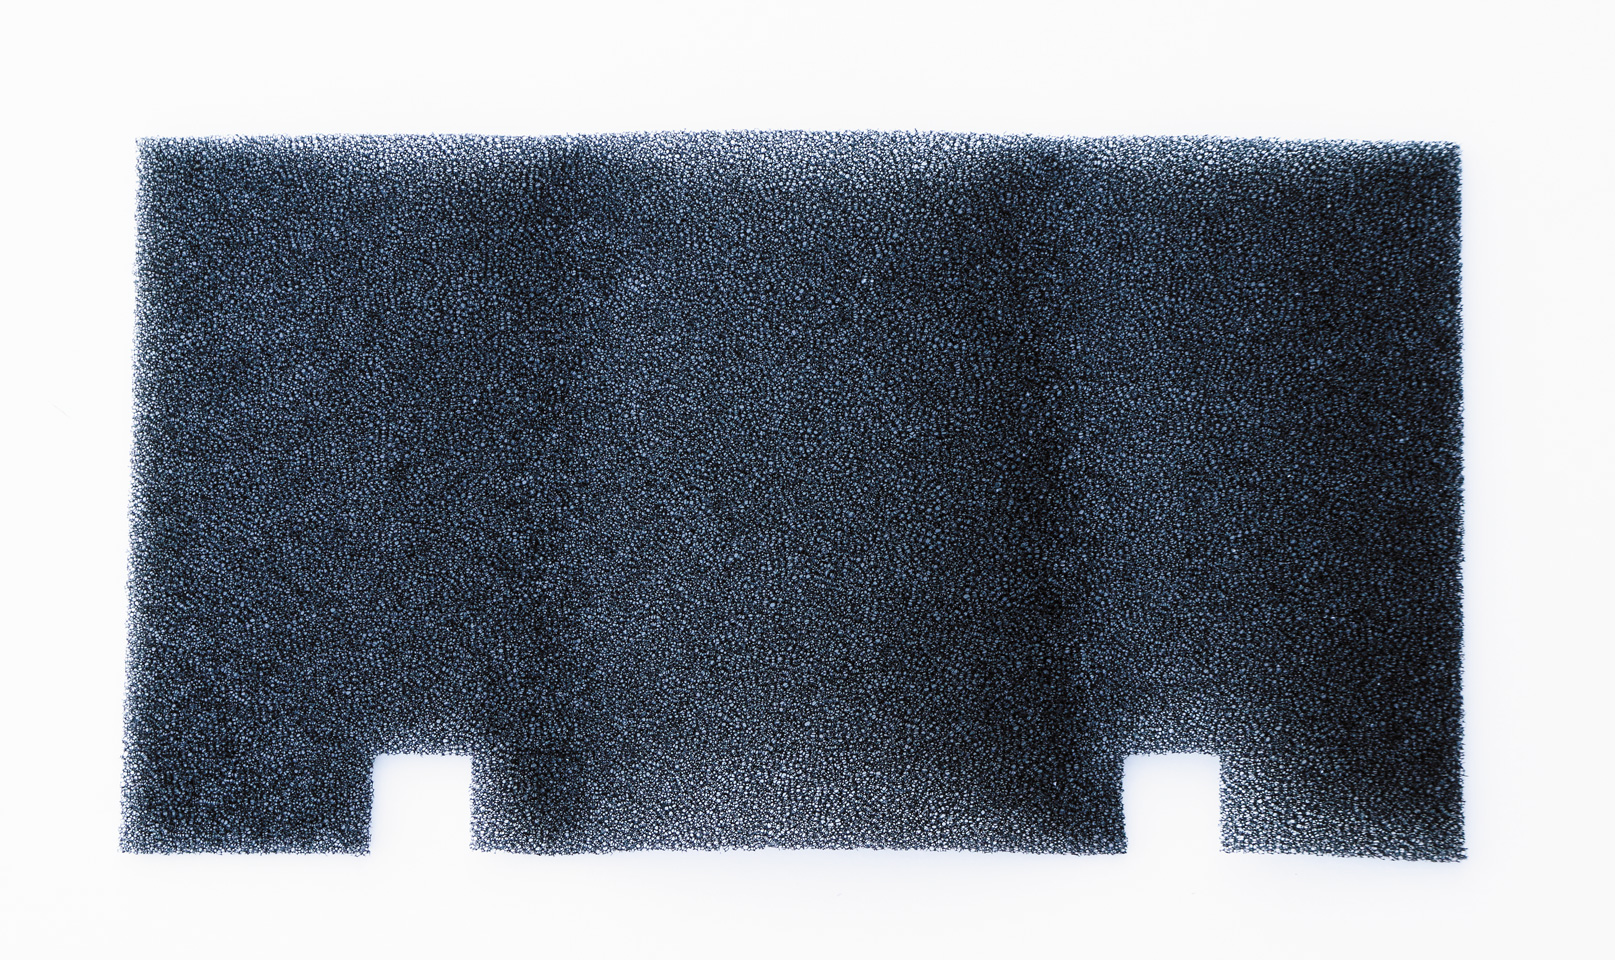
Mold may start growing in the return air filter of an RV’s HVAC system. If so, replace the filter.
I recommend replacing the filter and looking for evidence of water gathering. Check the condensate drain lines, if so equipped, which easily can become blocked. Assuming you have condensate drains, they would have been installed by the RV builder. Typically, they are routed in the ceiling assembly from the middle of the RV over to a sidewall, and then down the wall to below the RV. It’s likely that a short rubber hose extends down through the undercarriage.
If you cannot find the condensate drain lines, contact the manufacturer and provide the VIN and model number. The factory should be able to look up the prints and determine exactly how the drain is routed. Keep in mind, not every manufacturer installs a condensate drain. Some allow the condensation to simply gather in the air conditioner pan and drain through weep holes onto the roof. Simple evaporation takes over from there.
Use a cloth dampened with the bleach/water mixture to wipe down all the components you can reach, and then thoroughly dry them. Remove the cool air outlets and look for moisture there as well.
If the odor remains after you replace the filter and dry out the unit, the next step is to call a professional service tech, especially if the mildew has spread to the ductwork. A professional deep cleaning is necessary in the latter case. Simply wiping things down usually will not work. Close inspection of the condenser and evaporator coils also will be necessary. But try the simple cleaning and filter replacement first. Here’s hoping that will be successful!
Failed Pump
I would like to know the location of the fuel pump relay on my 1985 Vogue motorhome, which is built on a Chevrolet P-30 chassis. I want to install a new electric four-pound pump near the fuel tank, instead of dropping the tank, if that would work okay. I didn’t like the way the motorhome performed going up hills, like it might be starving for fuel.
Jim Peterson
Via email
Well, that might be a tough one! That’s if you even have a pump relay at all. Chevrolet made a production change in mid-1985. If your chassis was built early in ’85, a pump relay could be mounted on the rails somewhere near the main fuel tank. I don’t have a photo of it, but it would have five wires attached to it — black, purple, blue, pink, and either a white or tan-colored wire (according to the wiring schematic).
Later in 1985, Chevy eliminated the dedicated fuel-pump relay and switched to a conductor attached to the engine oil-pressure switch. It would be a single conductor wired to the common (C) terminal on the pressure switch. I don’t recall where the oil-pressure switch was mounted, but I’d guess somewhere up front on the chassis. Look for a silver-colored Holley oil-pressure switch. When Chevy used the pressure switch, they eliminated the fuel-pump switch.
Some fuel pumps are controlled by the engine control module (ECM). Even if that has failed, the oil-pressure switch still can power the fuel pump. But if you leave the in-tank pump installed and it is indeed faulty, my concern is whether the new external pump still will be able to draw fuel from the container. This could be a problem if you simply insert the new pump into the carburetor feed hose.
I’d further suggest you first change all the fuel filters. There is an in-line filter located along the frame rails, and possibly one situated at the carburetor. To be sure the existing fuel pump is faulty, perform a fuel pump flow test at the in-line filter at the frame rails. Here are the steps:
- Remove the hose at the inlet.
- Disconnect the pink wire at the fuel injection pump.
- Place a gallon fuel container at the disconnected hose.
- Crank the engine for 15 seconds.
- Within 15 seconds or less, at least 1/2 pint of fuel should be expelled.
If it passes this test, the existing pump is fine. Chances are, there is an undiscovered kink or other obstruction in the fuel delivery system.
Rot Damage
I recently noticed buckling and rotting wood under the bedroom windows of my Damon Daybreak motorhome. What is the best way to repair this damage without compromising the exterior walls? We have some carpentry skills.
Robert Mackey, F436498
Lancaster, Pennsylvania
Unfortunately, a complete repair may not be possible by working from the inside only. Typically, if the structural damage was caused by water intrusion, the affected area may be widespread, extending farther than just below the window. A deeper investigation would be necessary to discern the extent.
If I’m not mistaken, your Damon was constructed using vacuum-bonded sidewalls, meaning they are assembled, glued, and submitted to a vacuum pressing while lying flat on a table. The outside skin, the structural members, the insulation, and the inner plywood paneling all become a solid, very strong unit. It may be difficult to remove the damaged portions while maintaining the structural integrity of the rest of the wall. But as a last resort, it might be possible if the damage is limited to a very small area and the studs and supports remain intact. Again, it would be necessary to dig a little deeper.
You could start by carefully removing the window and peeling away the damaged paneling and insulation — as long as the studs are okay, that is. Then remove all the rotted materials and, using contact cement, replace the insulation and install new paneling. There is no way to apply a vacuum pressing, however. The strength depends solely on how well each element is cemented together around the sound studs.
I don’t want to give you false hope, as expansive damage usually requires a complete sidewall replacement, but it just might be worth a try. Further diagnosis will be possible after you see how far the rotting has progressed.