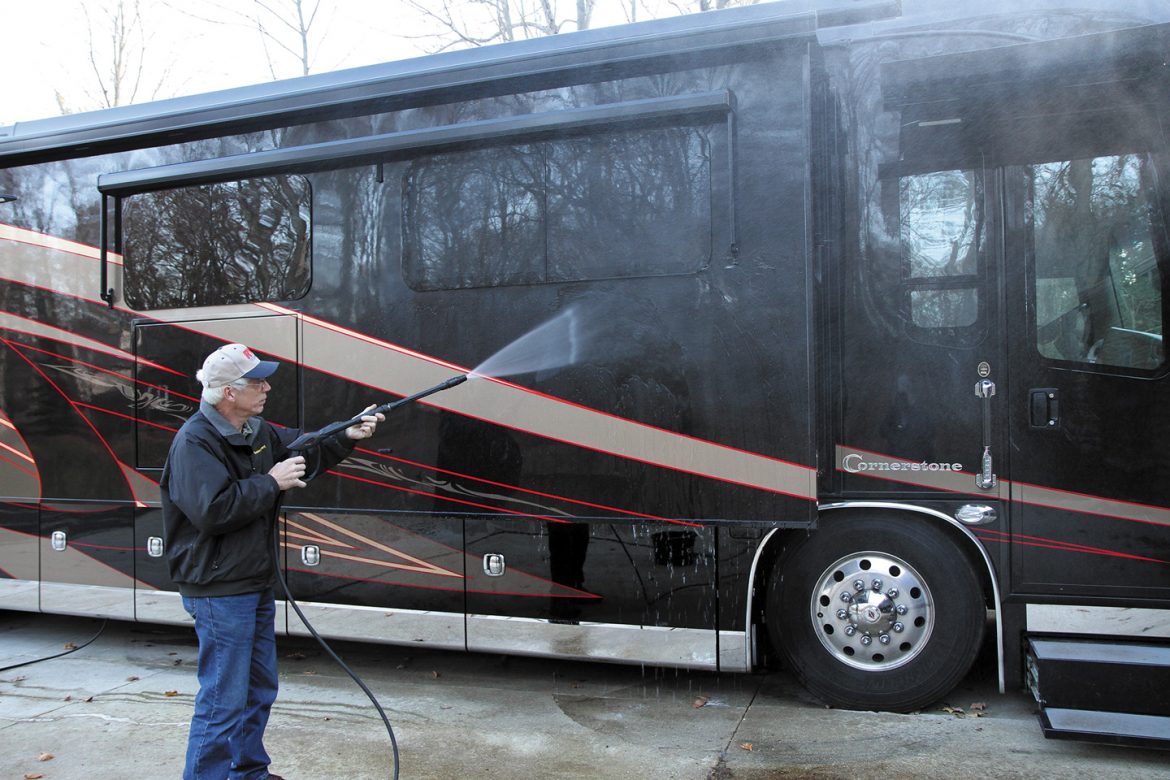
After pulling your RV out of winter storage, going the extra mile to get it ready for travel season will make life on the road much smoother.
By Mark Quasius, F333630
March 2021
Spring is a beautiful time of year. Flowers bloom, birds chirp, and the RV gets awakened from its winter hibernation and readied for a new season of cruising and camping. Of course, an RV can’t just be pulled out of storage and expected to be ready to go. Some preparation is required.
Spring prep for an RV isn’t all that difficult, although it does take a bit of time. It involves a careful inspection of the electrical systems, dewinterizing the plumbing system, and then giving the RV a good cleaning — inside and out.
Electrical Systems
Battery performance is critical to the operation of an RV, so that is a great place to start. If the batteries were removed over the winter and kept on a battery maintainer or trickle charger in a warm place, they should be good to go. If the batteries remained in the RV, and the RV’s battery charger was operating, they’re likely in good shape. However, if the batteries did not have any source of charge power over the winter, several steps must be taken to charge them. First, check to make sure they didn’t freeze. Freezing can damage cells in flooded, or wet-cell, batteries and destroy the batteries. Signs of freezing include cracked or bulging battery cases.
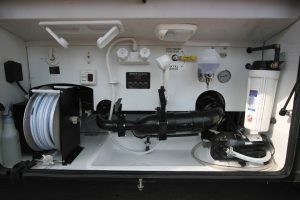
Much of the spring preparation work will be centered around the RV’s utility bay.
Unlike lithium or AGM (absorbed glass mat) batteries, flooded batteries produce gas while being charged. The escaping gas causes water to evaporate and results in lower levels of sulfuric acid electrolyte, or battery acid. Before charging flooded batteries, make sure the cells are topped off with distilled water. When a flooded battery is done charging, use a battery hydrometer or refractometer to determine the level of charge. Each cell should range between 1.270 and 1.305 specific gravity. The emphasis should be on consistent readings between the cells. If one cell is significantly lower, that battery won’t perform well. It’s also important to allow the battery to rest for 15 minutes after charging to remove any surface charge prior to testing.
Motorized RVs have two battery systems — one for the house accessories, and another to run the chassis accessories and start the engine. Engine starting batteries normally are sealed, but most deep-cycle flooded batteries have removable caps and require monitoring of the water level.
Batteries work properly only when the cable connections are in good shape and are clean and free of corrosion. Corrosion can be removed with a wire brush, followed by spraying the connections with battery terminal cleaner, or by wiping the connections with a homemade solution of baking soda and water and then rinsing with water. Remove the cables and brush off any additional corrosion that may have accumulated where the cable meets the battery post or lug. Once you are finished, a good practice is to spray battery terminal sealer on the connections to inhibit future corrosion.
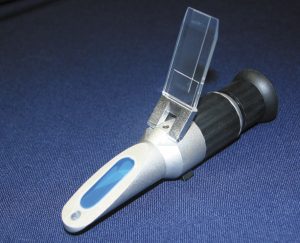
A refractometer can be used to check the condition of RV battery cells.
Also inspect the electrical wiring throughout the RV, including in the engine compartment, under the dash, and in the RV’s basement. Rodents are known to eat electrical wiring insulation. In addition, connections can corrode while in storage, especially trailer light connections. Be sure to open the connector’s cover and inspect the pins. If the connector pins are corroded or crusty, clean them. A spray can of battery terminal cleaner works well, or use a small brush or a piece of emery cloth. In extreme cases, the connector may have to be replaced.
Fresh-Water And Waste Systems
Perhaps the most time-consuming spring prep task is dewinterizing the RV’s fresh-water system. If the RV was properly winterized — blowing out the system with air or filling it with RV antifreeze — no damage should have occurred from freezing temperatures during storage. However, there are no guarantees. If the system was cleared with air, small amounts of water may have remained and cracked a line or fitting as it froze and expanded. To be sure, refill the system with fresh water, pressurize it, and inspect it for leaks. Any leaks need to be fixed before continuing.
While RV antifreeze does better at preventing cracked lines, it has a bitter taste and creates foamy water that may require the system to be flushed several times to fully eliminate. Fill the fresh tank and lines with water, and allow it to sit for at least a few hours. Then drain the tank, refill it, and flush the system again until the taste of the water is satisfactory.
Bacteria can grow in the fresh-water system while an RV is in storage, especially in the fresh-water tank and the water filter canister. Bacteria can be removed by sanitizing the system with a 5 percent chlorine bleach mixture — ¼-cup of bleach added to one gallon of water for every 15 gallons of fresh-water tank capacity. Be sure to double this for a 30-gallon tank, quadruple for a 60-gallon tank, etc. Pour or pump the solution into the water tank, ideally through the water hose, then fill the fresh-water tank with water. Open all the faucets, one at a time, and use the water pump to circulate water through every fixture until the smell of chlorine is evident. Let the solution sit in the tank and pipes for at least four hours, and then empty the tank and flush the system with clear water until the chlorine odor and/or taste is gone. Once the system is flushed, be sure to replace the water filter elements.
Next, drain the black-water and gray-water holding tanks. Once drained, add about a gallon of water to each tank to check the dump valves for leakage. Make sure no debris is stuck in the valves. After a day or two, carefully remove the drain cap from the sewer hose connection. There should be no liquid between the gate valve and the bayonet cap. The presence of any liquid indicates a leak in the dump valves, which needs to be addressed. Most RV dealers stock replacement seals for these valves, but if the valve blade is pitted, the whole valve may need to replaced. Dump your tanks and let them drain thoroughly, and then replace the valve. For some, this may be a good do-it-yourself project; for others, it’s best to let the service center perform the repair. Either way, this should be good for the next several seasons.
The water heater should also be checked. Some RVs have a water heater tank with an anode rod inside. An anode rod is a sacrificial device covered with magnesium or aluminum and designed to attract corrosive elements in order to prevent them from attacking the metal lining of the tank. Aluminum-tank water heaters do not have anode rods, but all steel-tank heaters do. They are part of the drain plug, so remove the plug and inspect the rod for any erosion. If the rod is more than 75 percent eroded, replace it. Also, check the drain plug area for evidence of sediment or lime buildup. RV dealerships, camping supply stores, and online retailers have inexpensive flushing tools to remove any sediment and allow the water heater to operate efficiently. This step is not necessary with tankless, on-demand water heaters or hydronic systems such as Aqua-Hot.
After inspecting the water heater, allow it to fill with water and then turn it on to verify it is working and to flush any foamy antifreeze residue from the tank or hot water lines. Never start a heating cycle without water in the tank. Don’t forget to close the water heater and pump bypass valves.
Interior
Inspect the interior for any signs of damage, particularly from rodents. An RV offers a warm home for mice, with plenty of things to chew on and spots to make nice, comfy nests. This is also a good time to pick up any dryer sheets or mouse traps that were used as deterrents. Clean up any droppings, disinfect those areas, and repair any damage. Clean or replace any filters found in return ducts or vents. Run the furnace and air-conditioning systems to verify that everything is operating properly and to purge any odors that accumulated in the system.
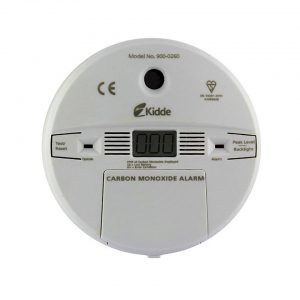
Replace batteries in smoke alarms and carbon monoxide alarms each spring.
Check the appliances. Refrigerators can grow mold inside if they don’t have proper ventilation when in storage. Clean the refrigerator’s interior thoroughly with a disinfecting cleaner. Then turn on the power to see whether the refrigerator is cooling properly, and check that the ice maker and water dispenser are working, if applicable. If the water lines were winterized with RV antifreeze, the first few ice cubes may appear pink. Run a few batches through the ice maker to clear the lines. If the RV is equipped with a dishwasher or a clothes washer, run an empty wash cycle with soap and hot water to clean it and remove any RV antifreeze that accumulated.
Don’t forget to change the batteries in the carbon monoxide, propane, and smoke alarms, and inspect fire extinguishers to make sure they are operating properly. Check the gas cooktop and oven to verify that they, too, are operating correctly. This also should be part of an annual professional propane inspection.
Chassis
Two schools of thought exist regarding annual chassis service times: in the fall prior to storage, or in the spring when removing the RV from storage. My personal preference is to do it before storage. Engine oil contains acids and other contaminants after a year of use, and leaving those chemicals in the engine over the winter allows them to attack bearing surfaces, cylinder walls, etc. By changing the oil prior to storage, the contaminants are removed, leaving clean, fresh oil in the engine. Also, other lubricants, especially grease, can be pushed away from the surfaces they are supposed to lubricate. Servicing the chassis in the fall ensures fresh lubricant is spread evenly over every bearing surface.
For those who prefer spring service, obtain a supply of the correct filters and lubricants for the engine, transmission, and other components. Grease the suspension and the driveshaft universal joints and give everything a careful inspection. For towable RVs, be sure to inspect the brakes and repack the wheel bearings.
The RV generator also needs to be serviced. Each RV comes with a set of manuals for chassis and generator maintenance, so refer to them for the exact procedures and service intervals. Manuals can also be found online or obtained from a dealer.
Leveling jacks also need occasional attention. Some RVers prefer to store the vehicle with the jacks down to remove pressure from the tires during long-term storage. Wipe down the jack cylinders with WD-40, which both lubricates the cylinders and cleans them to prevent dirt from getting pressed into the seal. An alternative to extending the jacks, especially in colder and/or humid climates, is parking the RV on cement or wood and moving the unit slightly every month if possible.
Tires are perhaps the most important element of an RV’s safety. Make sure they are properly inflated, and inspect them for wear and sidewall cracking. RV tires tend to “age out” before they wear out from mileage. Tires contain natural lubricants, but these are released only as the tires flex when driving. If cracks or signs of dry rot appear, the tires should be replaced to prevent a potential blowout when traveling. And, although age isn’t the only factor when it comes to replacing tires, it is a good idea to keep an eye on this; numbers stamped on the sidewalls indicate the date of manufacture. Be sure to replace the tires at the recommended limit for the application. It also is a good idea to have tires inspected by a professional on a regular basis.
Exterior
Even if an RV is covered over the winter or stored indoors, it’s going to pick up dirt, which should be removed to prevent etching into the finish. Mold and mildew also can form on the roof, so a good scrubbing is necessary. Caution is always needed when going up on an RV roof, and in most cases, this is best left to a professional.
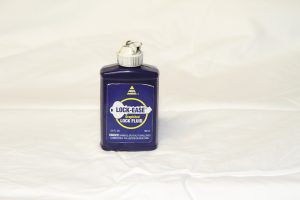
A graphite-based lock cylinder lubricant will keep your RV’s cargo and entry door locks from sticking.
Once the RV is clean, apply a polymer sealant to protect the finish. If the windshield wipers chatter, or leave streaks or large gaps that don’t wipe clean, replace them. Otherwise, clean them with an alcohol-soaked towel.
Lubrication doesn’t last forever, so check any spot with moving parts. Hinges and latches on basement cargo doors require lubrication to prevent them from seizing. Squirt graphite-based lubricant into lock cylinders and use the key to coat the tumblers. Rubber gaskets and seals dry out and eventually crack. Clean them with silicone spray, which keeps them pliable and extends their lifespan.
Also check for any cracked seam sealants, and reseal as necessary using the recommended type of sealant for the job. Sealants wear out over time, which can allow water to enter the coach. Windows, door frames, vents, antennas, and rooftop plumbing protrusions all need a good bead of sealant to prevent water intrusion.
Remember, the clock is still ticking when your RV is in storage, so be sure to take care of the little things. But if it is properly prepared for spring, all that’s left to do is fill the tank with fresh fuel, load up the family and cargo, and hit the road.

