
Annual RV maintenance shows up as an underlying theme in many of my articles, as its importance can’t be overstated. Failure to have your RV serviced every year, or even more often as required, can lead to expensive repairs later. Foremost among them is damage caused by water entering the ceiling or walls. In this article, I will discuss how to inspect your RV and to perform tidy sealant updates yourself.
Most RV manufacturers recommend performing sealant inspections every 90 days. While this may seem excessive, inspection should be done at least on an annual basis. Many RV owners take their units to a service center for this, but it is relatively easy to do it yourself, which can save significant money, depending on the size of your unit.
It is important to make sure you use the same sealant the RV manufacturer employed during assembly. Many manufacturers post parts and service information online, but if not, you can contact them directly to ask about this. Regardless of what sealant is used on your RV, it can generally be found at your local RV parts center. If you visit a dealership that sells your RV brand, they should also be able to advise you on what sealant to use.
Other than “standard” silicone sealant, manufacturers commonly use hybrid sealants, including Proflex, as well as self-leveling sealant such as Dicor. So, the first step is to acquire several containers of the appropriate sealant, which generally comes in tubes suitable for a caulking gun. Self-leveling sealant should be used for sealing the roof of your RV, but never on a vertical surface.
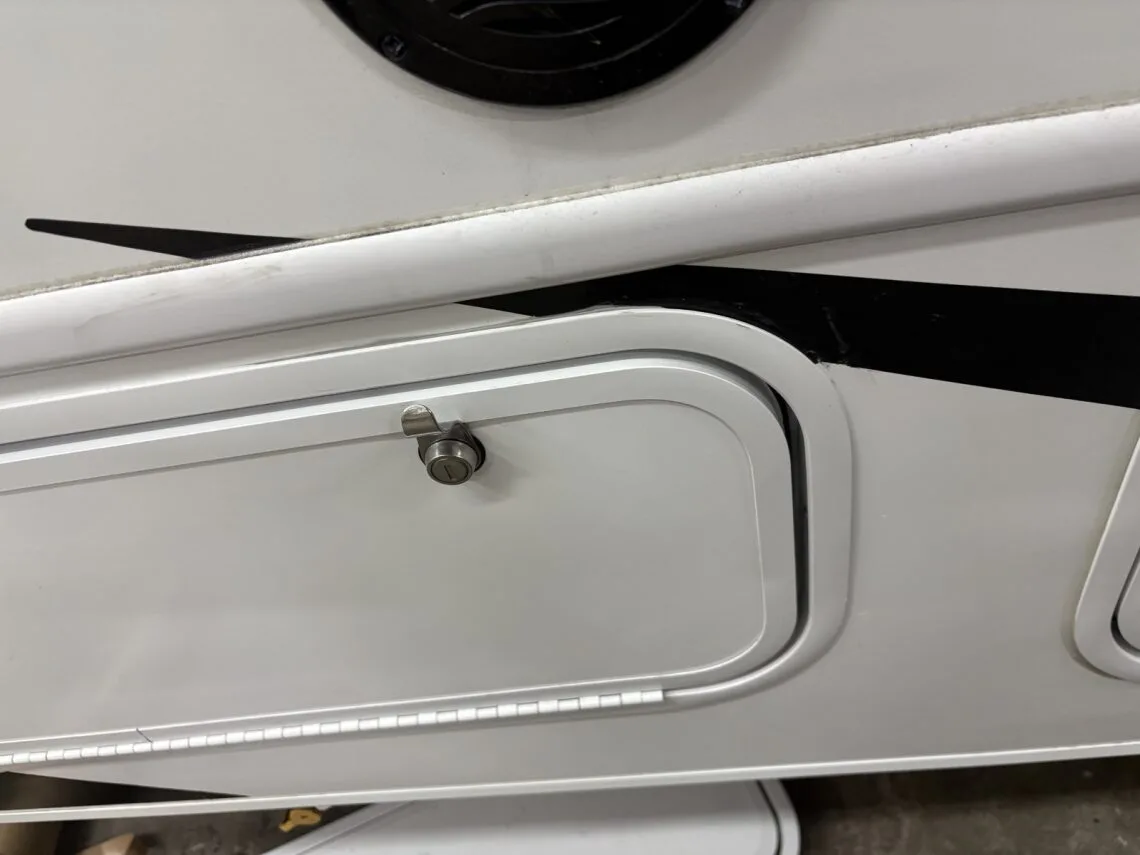
In terms of the inspection, carefully and thoroughly check every square inch of your RV sealants, looking for voids, cracks, damage, degradation, or any other sign of definitive or possible sealant failure. You must be patient, as this can be very time consuming, especially if the sealant is transparent or otherwise difficult to inspect. Areas to check include window frames, body accessories, fridge vents, moldings, roof fixtures, door frames, compartment door frames, and any other area that has sealant on it. Note that if your RV has fixtures that incorporate putty and no sealant, it is a good idea to trim the putty and apply sealant over the putty as well.
Check for possible signs of water intrusion while you are performing the sealant inspection. Look for things like water stains, damage, or delamination (bubbling) of the sidewall. If you encounter the latter, this is a sign of significant water damage, and you should seek professional assistance for further evaluation and repair.
Once you identify the areas of sealant you wish to touch up, it is important to fully scrape off the existing sealant and then thoroughly prep the area using silicone or sealant remover or denatured alcohol.
After you identify and prepare the areas involved, you are ready to make clean and attractive sealant beads. Start by opening the tube of sealant. The method of doing so will depend on the manufacturer. For some tubes, you simply take the caulking gun piercing pin and stick it down the nozzle to break the factory seal; however, you may have to cut off the end of the nozzle. Some tubes have a removable nozzle that must be taken off to cut the end of the container. If you must cut the end of the nozzle, make the smallest hole possible. This will ensure the finest, and therefore tidiest, bead.
Here’s the trick for the perfect silicone job. Once the area has been prepped — including full removal of any old sealant — use the caulking gun to lay a new bead of sealant into the area. Do not inject too much sealant, and be sure to add sealant only where you want it to go, in this case along any joints.
Once you have laid in the sealant bead, wipe off any excess sealant (you want the bead to be as narrow as possible). In other words, clean off any sealant that went where you didn’t intend or that results in too wide a bead. You don’t want too much sealant on the body or moldings of the RV.
Once you are satisfied that the bead looks good and no overage exists, use a spray bottle filled with a mixture of dish soap and water to spritz the solution liberally all along the new bead of sealant. The premise here is that the sealant will not stick to the soapy water. Once you have thoroughly sprayed the entire bead of sealant, use your finger to wipe along the bead. This will remove all excess sealant without allowing it to spread to nearby areas such as the moldings and sidewalls. Keep a rag handy to wipe your finger afterward. Using this method, with a little practice you’ll be able to create a perfect factory-type bead every time.
In the case of hybrid sealants, you may find that silicone remover works better than soapy water. When using these products, take extra care to lay in the bead, as hybrids are less hydrophobic than silicone-based sealants.
For the roof, use silicone remover or denatured alcohol to clean any areas of sealant you wish to upgrade. For self-leveling sealant (almost universally used on RV roof fixtures), you do not need to remove the old sealant unless it is lifting off or significantly damaged. Clean the old sealant and apply new self-leveling sealant over the top. This sealant, as the name suggests, will level on its own, so do not attempt to smooth it out yourself. Not having to spread the sealant makes the roof easy to do; however, be sure not to get too close to the edge of the roof. For sealant upgrades near the edge or on the vertical faces of the roof, use regular sealant and spread it carefully, as previously discussed.
Ensuring that your RV undergoes regular sealant inspections and keeping a watchful eye for any signs of water intrusion goes a long way toward protecting your home on wheels.