
Having the right equipment and ensuring a safe, solid installation are key to towing a vehicle four wheels down behind a motorhome.
By Bruce W. Smith
August 2022
Story with photos here: web-FlatTowInstall_FRV0822-compressed_1
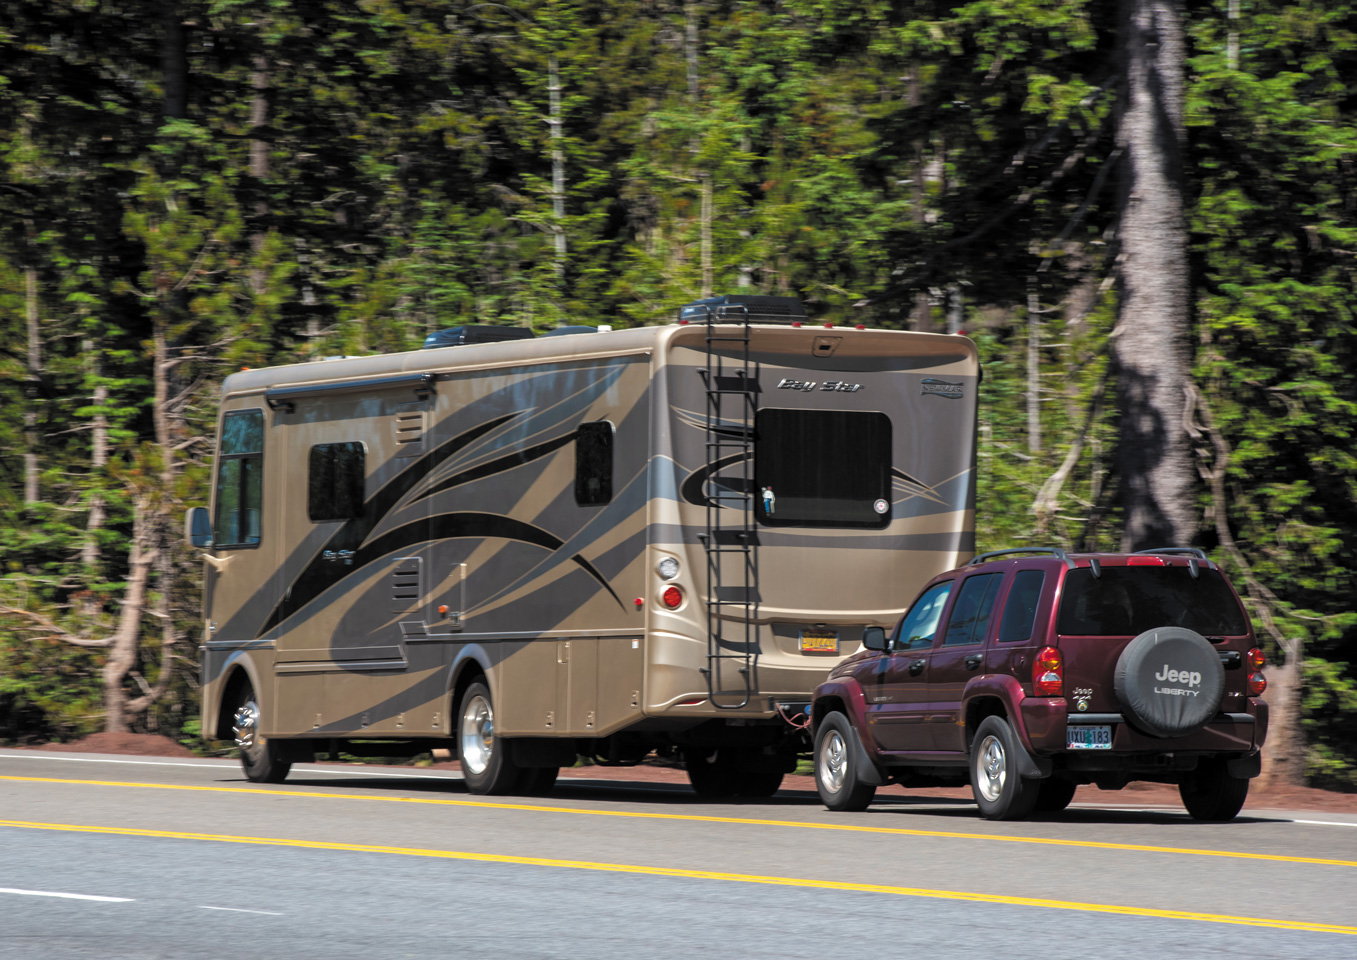
Setting up a vehicle properly for flat towing (four wheels down) behind a motorhome can seem very simple. Slide the hitch into the receiver on the coach, attach a tow bar to the vehicle you are towing, connect the tow bar to the hitch, plug in the lights, and off you go. If only it were that easy.
Safety on the open road should be the number-one priority of every person behind the wheel of an RV, because the lives of the loved ones riding along are in the driver’s hands — literally. That may sound melodramatic, but it is true. Hook up a towed vehicle behind the motorhome and you add yet another element to those safety concerns.
If you want to flat tow a “dinghy” safely and confidently behind your motorhome, first make sure it is approved by its manufacturer for doing so (refer to the vehicle’s owners manual online). Then, it’s time to address the variety of towing components available today. As with many purchases, going the cheapest route on the tow setup probably is not in your best interest. This is especially true if you plan to tow the vehicle for thousands of miles over varying road and weather conditions.
A flat-tow setup can be an investment of between $3,500 and $5,500, depending on the vehicle, the products used, and whether you do it yourself or have a professional perform the work. Yet, many RV owners concentrate on price first and safety and quality second. That’s just human nature.
Equipment Needed
When it comes to towing a vehicle behind any Type A, B, or C coach, price should always play a secondary role.
“Think about it. Regardless of which tow bar you use, you need a base plate. Regardless of which tow bar you use, you need the vehicle wired for lighting. Regardless, you’ll need safety cables. Regardless, you’ll have the same amount of labor installing all of this equipment, and maybe even a braking system,” said David Robinson, vice president of Roadmaster Inc., a manufacturer of flat-tow systems and towing-related products. “So, when you add up the total package, the difference in total cost between an entry-level tow bar and a premium tow bar may only change the total installed package price by 10 to 15 percent. When you look at it that way, it really doesn’t make sense to shave pennies on the tow bar.”
The same applies to the supplemental braking system for the towed vehicle. Many state towing laws require the towed vehicle to have a braking system, just like a trailer. If the vehicle is not occupied, it will not apply the brakes on its own accord. So, you must install a supplemental or independent brake system for the vehicle that is activated by the RV’s brake lights.
I recently had the opportunity to document the installation of a flat-tow system at Bish’s RV in Meridian, Idaho. The technician installed a Demco Stay-IN-Play DUO supplemental braking system, a Roadmaster base plate, and a Roadmaster Falcon All-Terrain tow bar on a 2007 Honda CR-V.
Bish’s RV recommends the Stay-IN-Play DUO by Demco Products to customers with gas-powered RVs. One kit covers all applications. This product uses Demco’s patented technology to create a dual-signal system — brake lights and inertia — for progressive brake activation, which helps the motorhome slow down smoothly. This is said to result in faster, more precise signals between the motorhome and towed vehicle, which enhances safety, longevity, and handling.
Needed: Attention To Detail
Setting up a vehicle for flat towing behind a motorhome is one of the more tedious tasks the DIYer in an RVing family may think about tackling. It requires a basic understanding of vehicle body work, the ability to make minor installation adjustments on the fly, and a solid understanding of vehicle wiring and braking. There is no room for mistakes or sloppy work.
The last thing you want to happen when towing a vehicle is to have its brake system fail or, worse, have the vehicle itself come loose while you’re tooling down the road. The quality of the products used and how they are installed are crucial for a flat-tow setup.
Brandon Awe, a master certified RV Technical Institute technician at Bish’s RV in Meridian, Idaho, notes the difficulty level and stresses the importance of being meticulous when setting up a flat-tow system.
“If a do-it-yourselfer isn’t exceptionally confident in their vehicle wiring abilities and they don’t pay attention to the smallest detail, this is one of those installations you don’t want to undertake,” he said.
Awe noted that he has installed more than 500 flat-tow systems during the last eight years. Even for an expert technician, he said, the process can take six to eight hours. “And I have all the tools at my disposal in case something doesn’t fit exactly as it should,” he added. Awe estimated that the installation may take the typical DIYer a full day or a day and a half to complete.
Inside The Installation
What takes so long to set a vehicle up to be flat towed? To get an idea, we followed Awe as he prepped the Honda CR-V. He tackles every flat-tow install in three parts. First is installing the Roadmaster base plate, where the tow bar from the RV attaches to the towed vehicle; next is wiring the towed vehicle’s brake lights to the seven-pin plug that connects to the RV’s lights and charge power; and, finally, installing the Demco supplemental braking system.
To install the tow-bar base plate, you have to remove the towed vehicle’s front bumper/fascia. On vehicles such as a Honda CR-V, you also must remove the factory crash bar. The base plate is then bolted into place. Next, the wiring begins.
This part of the flat-tow installation requires time and patience. The plug-and-go premade wiring harnesses typically available when installing aftermarket lights, stereo systems, a trailer plug, and many other vehicle accessories do not exist in this case. You have to measure, cut, splice, and run new wiring from the base plate to the taillights. You’ll also need to wire in special diodes to protect modern vehicles’ sensitive electronics, as well as those of the motorhome.
Awe then installed the Demco braking system. That consists of mounting the compact DUO operating unit (air compressor/air tank) inside the engine compartment, installing a G-force controller kit (it activates and controls the braking force as needed) under the dash, and mounting the DUO air cylinder to the vehicle’s brake pedal.
The Perfect Setup
The beautiful part of this flat-tow installation is that once it’s completed, the on-the-road operation is smooth and flawless. The towed vehicle and the motorhome brake as one. The vehicle also can be disconnected quickly and easily because of the way Roadmaster designed its non-binding Falcon All-Terrain tow bar.
“When the time comes to change from one towed vehicle to another, or to put the towed vehicle back to factory [stock] configuration, it’s easy because of the way we do these installs,” said Ryan Penny, operations manager at Bish’s RV. “The diodes unplug, and the factory wires plug back into themselves. The wiring and DUO components are easily removed. The only thing that needs to be replaced before setting up your next vehicle for flat towing is the base plate, because they are specific to each vehicle.”
Bish’s RV
www.bishsmeridian.com
(208) 271-4479
Demco Products
www.demco-products.com
(800) 543-3626
Roadmaster Inc.
www.roadmasterinc.com
(800) 669-9690