
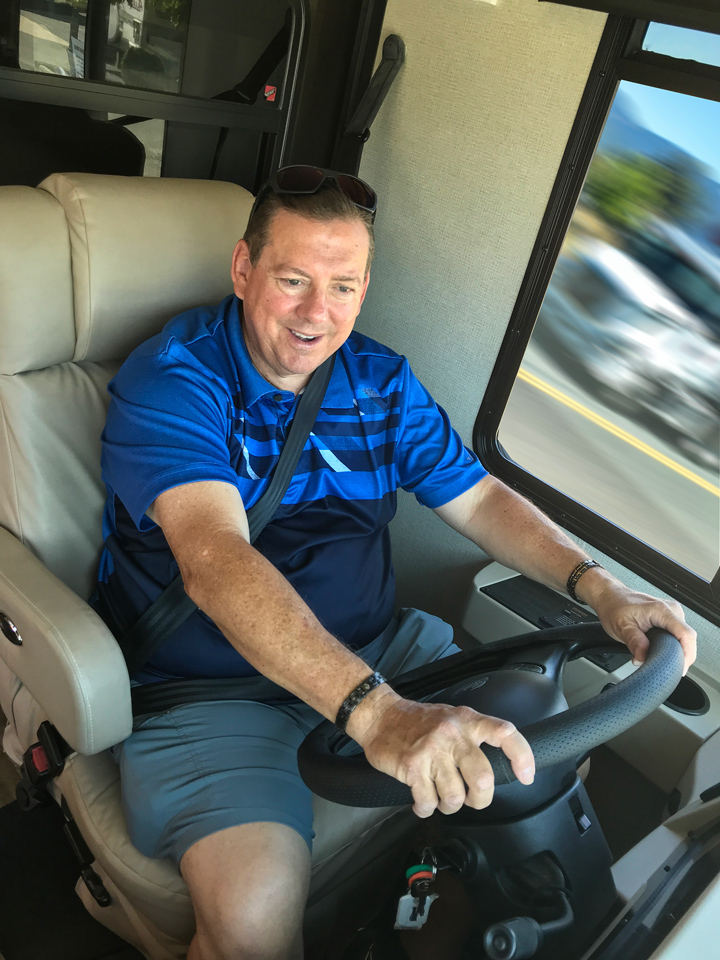
Installing a Safe-T-Plus Steering Control on your motorhome not only increases safety, but it also makes time spent behind the wheel more relaxing.
By Bruce W. Smith
October 2022
Story with step-by-step photos here: rerpint-BeefingUpSteering_FRV1022
Safety on the open road should be the number-one priority for every driver. One key factor that contributes to highway motorhome accidents is the driver losing control of the vehicle. This can be due to a front tire blowout, driver fatigue, bad road conditions, road shoulder drop-offs, weather conditions such as gusting winds, or some combination thereof that catches the driver off-guard.
Specific motorhome upgrades can improve steering control and reduce driver stress, both physically and mentally. One of the quickest and easiest aftermarket parts to install is the Safe-T-Plus Steering Control: a heavy-duty steering stabilizer designed specifically for Type A, B, and C motorhomes. It is said to reduce the effects of road wandering and over-steering caused by side winds, passing semi-trucks, crowned roads, rut tracking, and other road hazards.
Motorhome owners need to supply their chassis year, make, and model to determine which Safe-T-Plus unit and mounting hardware kit will fit their vehicle. In addition, owners of pickup trucks, SUVs, and other vehicles used to tow travel trailers and fifth-wheels may find units to fill their needs.
Installation is a simple bolt-on process. For example, installation of the Safe-T-Plus 41-180 unit (white) at an RV dealer takes roughly half an hour. The typical RV do-it-yourselfer should be able to complete the task in under 45 minutes; to help explain the process, Safe-T-Plus offers numerous how-to videos online.
“One tool that the DIYer has to have, or rent, is a torque wrench,” said Don Palmer, the RV chassis technician at Bish’s RV who did the install on a 2021 Jayco Alante 29S motorhome. “The nuts for the main ‘anchor bracket’ must be torqued to 250 pound-feet, and most RV owners do not have one of those in their toolbox.” Other needed tools include a 3/4-inch impact gun or a big, long-handled ratchet along with a 1 1/8-inch socket to remove the nuts from the rear axle spring U-bolt on the driver’s side, he added.
Fortunately, those tools typically can be borrowed through loaner programs offered by automotive retailers such as O’Reilly Auto Parts, AutoZone, or Advance Auto Parts.
Palmer also recommends having your RV’s alignment and tie-rod ends checked before installing the Safe-T-Plus. If the tie-rod ends are worn, or if the front end is misaligned, the Safe-T-Plus will perform properly but will mask these underlying problems, so it is better to have everything set properly first. The vehicle also needs to be road tested after installation to ensure the unit is adjusted correctly to center and the RV isn’t pulling to the left or right.
The improvement in steering and comfort behind the wheel of a motorhome with the Safe-T-Plus is worth the minimal amount of time invested to install the upgrade. Plus, it comes with a lifetime warranty.
More Info
Safe-T-Plus
(800) 872-7233 • (770) 322-8727
www.safe-t-plus.com
Steps
(See PDF of story above)
1)
Before removing the rear 11/8-inch U-bolt nuts on the driver’s-side leaf spring, Bish’s RV chassis technician Don Palmer recommends spraying them liberally with a good penetrating lubricant. A strong ½-inch air-impact gun (or long breaker bar) is very helpful for this installation.
2)
The Safe-T-Plus “anchor bracket” mounts over the rear U-bolt on the driver’s side, with the raised offset going over the tie rod. This results in the 45-degree-angled side of the bracket facing the middle of the coach.
3)
The 11/8-inch U-bolt nuts (and washers, if so equipped) are reinstalled to secure the anchor bracket to the chassis.
4)
Here’s where muscle and leverage come into play. The U-bolt nuts are torqued to 250 pound-feet, which requires a big torque wrench to apply that much force.
5)
Palmer attaches the stabilizer to the anchor bracket before installing the other end to the passenger-side tie rod. The ¾-inch bolt holding the stabilizer must face up; the nut is torqued to 120-130 pound-feet.
6)
The kit incorporates a special mounting bracket that attaches to the passenger-side of the tie rod using supplied 3/8-inch U-bolts. The bracket is loosely attached with locking flange nuts.
7)
The Safe-T-Plus stabilizer is secured to the tie-rod bracket using the supplied ¾-inch anchor bolt, 1¼-inch spacer, and locking nut.
8)
The tie-rod-end U-bolt lock nuts should be torqued to 20 pound-feet after the Safe-T-Plus stabilizer is mounted to the bracket.
9)
The final step is torquing the ¾-inch anchor bolt to 120-130 pound-feet and then taking the coach on a test drive to make sure the Safe-T-Plus steering control is properly adjusted. Safe-T-Plus has a detailed video regarding that aspect of the installation.
10)
The benefits of the Safe-T-Plus steering stabilizer installation are multifaceted — including reducing driver fatigue and road wander, as well as the effects of rut tracking and wind gusts.